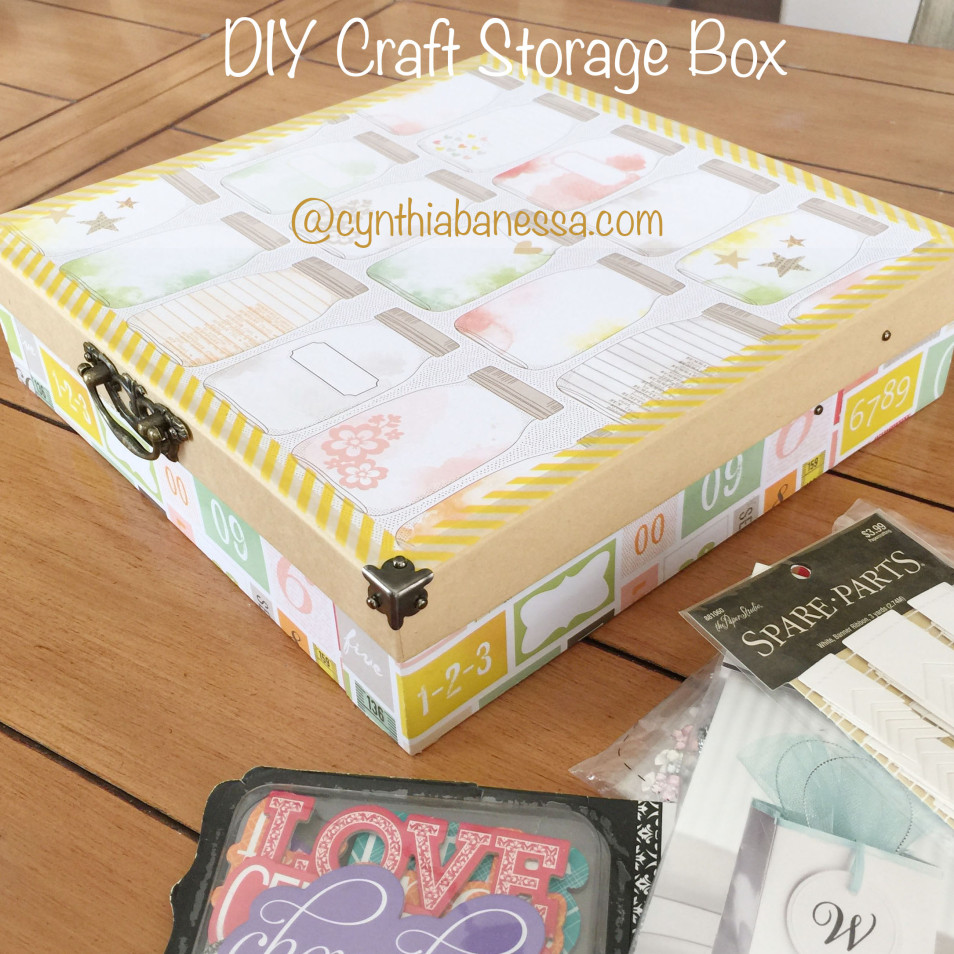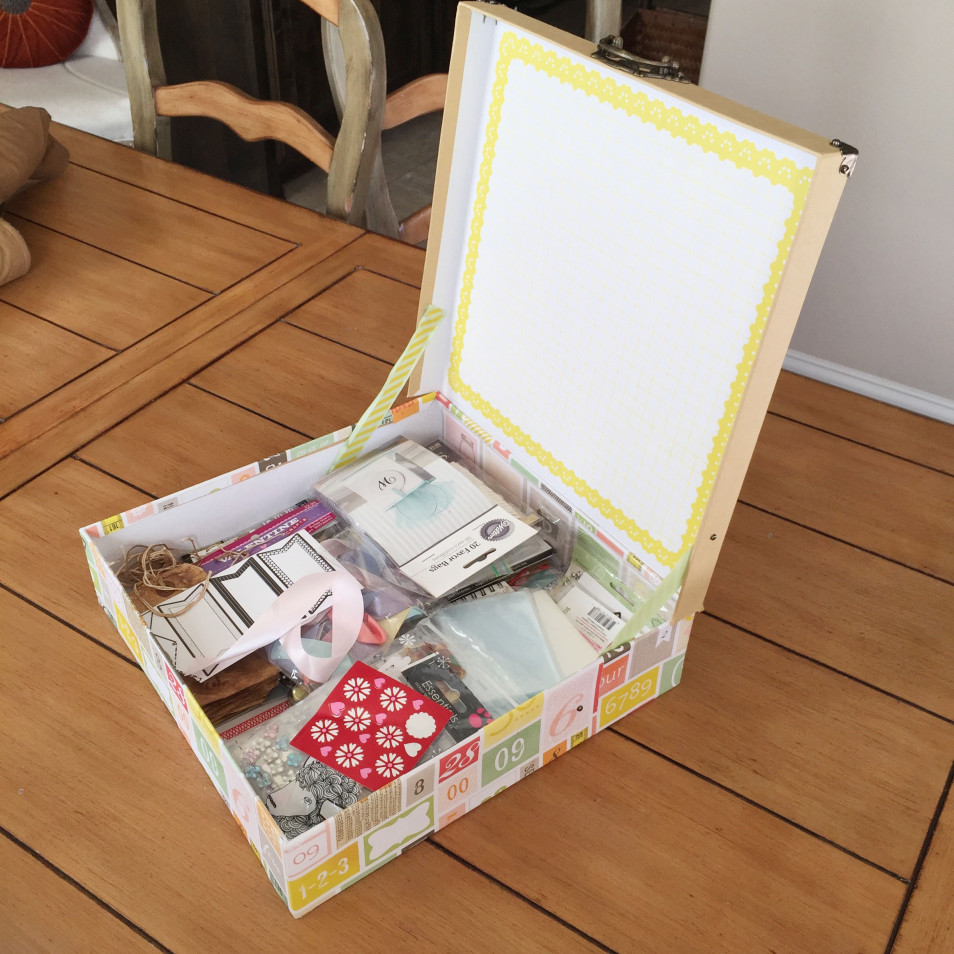
Creating this DIY craft storage box will help in organizing your studio/craft room; not only that it is super cute! You just don’t want to store and organize your studio/craft room but you want to do it fashionably. It’s that time of the year when you want to organize everything! This 12 by 12 box is easy to craft and it’s perfect for storing all of your scrapbooking supplies. I keep my stencils, scrapbook stickers, and small paper elements, it is so perfect.
To create this 12 x 12 box, I transformed the top of the box to a hinged top. It is just that easy and it takes about 2 hours to complete.

Supplies:
12 x 12 Storage box
12 x 12 Craft paper
Clear mailing tape
Metal decorative elements (optional)
washi tape
glue
scissors
craft blade
Instructions on DIY Craft Storage Box:
Take the top and carefully cut one side of the edge off with a craft blade. This is for making the hinge.

Next you will need to take the hardware off of the box. A pair of wire pliers and metal cutters can do the job. You will be left with 2 holes but that’s okay, in the finish product it will be covered.

Now to the fun part, take the craft paper of your choice and place and glue the 12 x 12 craft paper center on top of the box lid, the paper will not fit the entire top (the lid is a little bigger than the craft paper). Next frame the box lid with washi tape as seen below.

Next you will need 2 sheets of your 12 x 12 craft paper and cut them into 3 evenly pieces (4″ each) using 5 of the 6 cut pieces. Score the bottom at 3/8″ and top at 5/8″ on each paper lengthwise, and score the placement for the corners and v clip the top of the corners to have a neat fold before gluing the strips onto the sides of the box. Glue a 12 x 12 sheet of craft paper on the bottom of the box to complete the coverage.

Attach the top to the box with wide adhesive tape in the inside of the box.
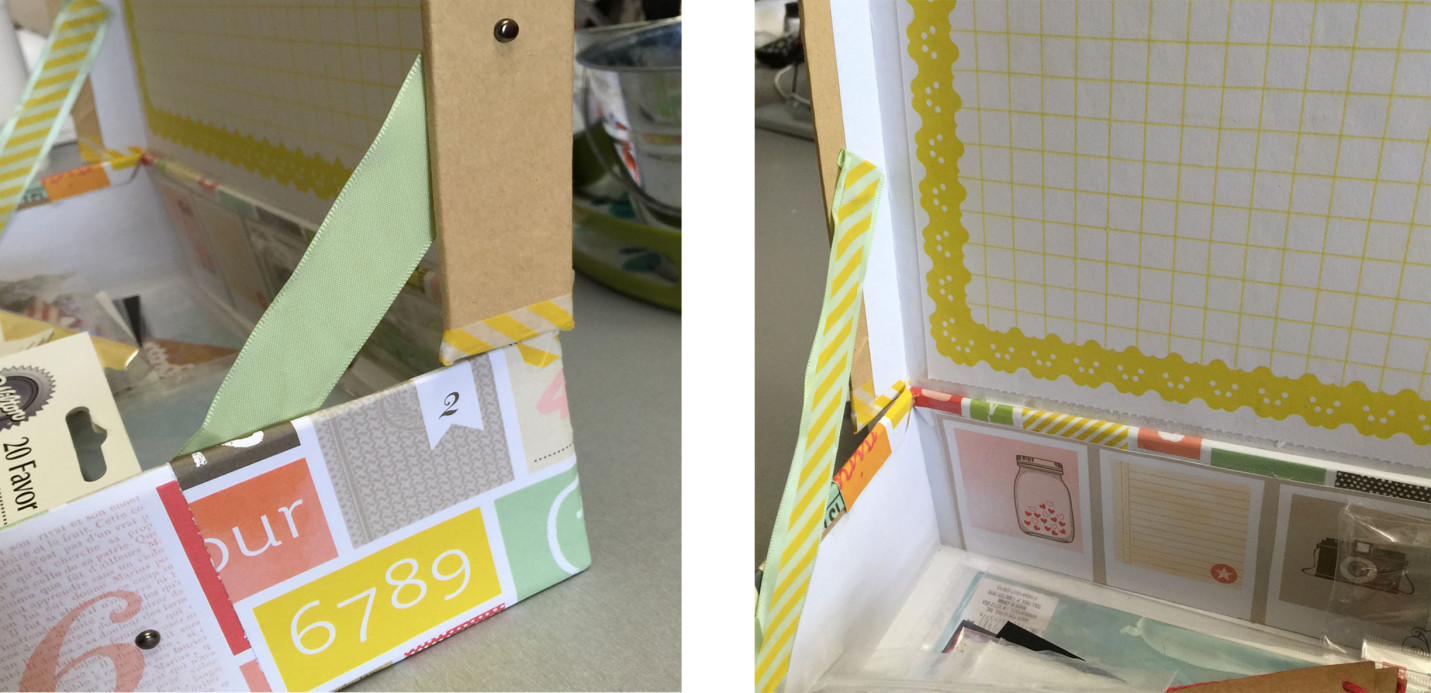
If you like you can add some decorative elements to the box like a handle and metal corners. The decorative elements are attached to the box with brads. To make holes for the brads, use a tiny screwdriver or an awl to puncture holes in the box.

The last steps are adding ribbon hinges for support for the top and decorating the inside of box with papercrafts to the top and inside the box to hide the holes. To hide the raw look of the back of the top where you cut the side off, cover it with washi tape.

This is box not only can be used for scrappbooking supplies, but for paint, sewing and so many things to store. Be creative and organize!

Latest posts by Cynthia (see all)
- Embroidered Canvas Purse - January 31, 2018


Leave a Reply